
2026
Photographing the birds of the hills: a quick start
A long lens helps, but patience and respect matter more. A beginner's guide to making honest photographs of the wild birds of the Kumaon hills.
Back to the journal
Contents
- 01Lens and light
- 02Get to eye level
- 03Keep the shutter fast
- 04Make the eye sharp
- 05Fieldcraft over gear
- 06Learn the perches
- 07A word on composition
- 08Anticipate the action
- 09Birds in flight
- 10Stay on the bird
- 11Know your bird
- 12What to start with
- 13The bird comes first
- 14Start in the courtyard
- 15Honest editing
- 16On the empty mornings
You can make a lovely photograph of a bird with very little — a modest camera, a long-ish lens, and a great deal of patience. The gear matters less than people think; the light, the moment, and your own stillness matter far more. What follows is a beginner's guide to making honest photographs of wild birds, written from years of chasing them around the oaks and fields of Kunja.
Almost none of it is about expensive equipment. It is about understanding light, getting close the right way, and — above everything else — putting the bird before the picture. Get those things right, even on a humble camera, and you will make photographs worth keeping; get them wrong on the finest gear money can buy, and you'll only ever make expensive snapshots.
Lens and light
A longer lens is the first real help. Birds are small and wary, and you simply cannot fill the frame from across a field with a normal lens. Three hundred millimetres is about where bird photography starts to get comfortable, and 400mm or 600mm is better still — but a steady hand, a hidden approach, and a willingness to wait matter far more than the number on the barrel. Plenty of beautiful bird photographs have been made on modest superzooms by people who simply knew how to get close.
Light, though, is the thing no lens can fix. The hour after sunrise and the hour before sunset — the golden hours — turn an ordinary bird into a glowing one, the low sun raking across the feathers from the side and picking out every detail. Harsh midday light, falling straight down, flattens everything and burns out the highlights on a pale breast. As a rule, keep the sun behind you and a little to one side, so it lights the bird's face and puts a catch of light in its eye. A soft, bright overcast can be lovely too — gentle, even, and forgiving. The only light worth avoiding is the hard, contrasty glare of the middle of the day.
Get to eye level
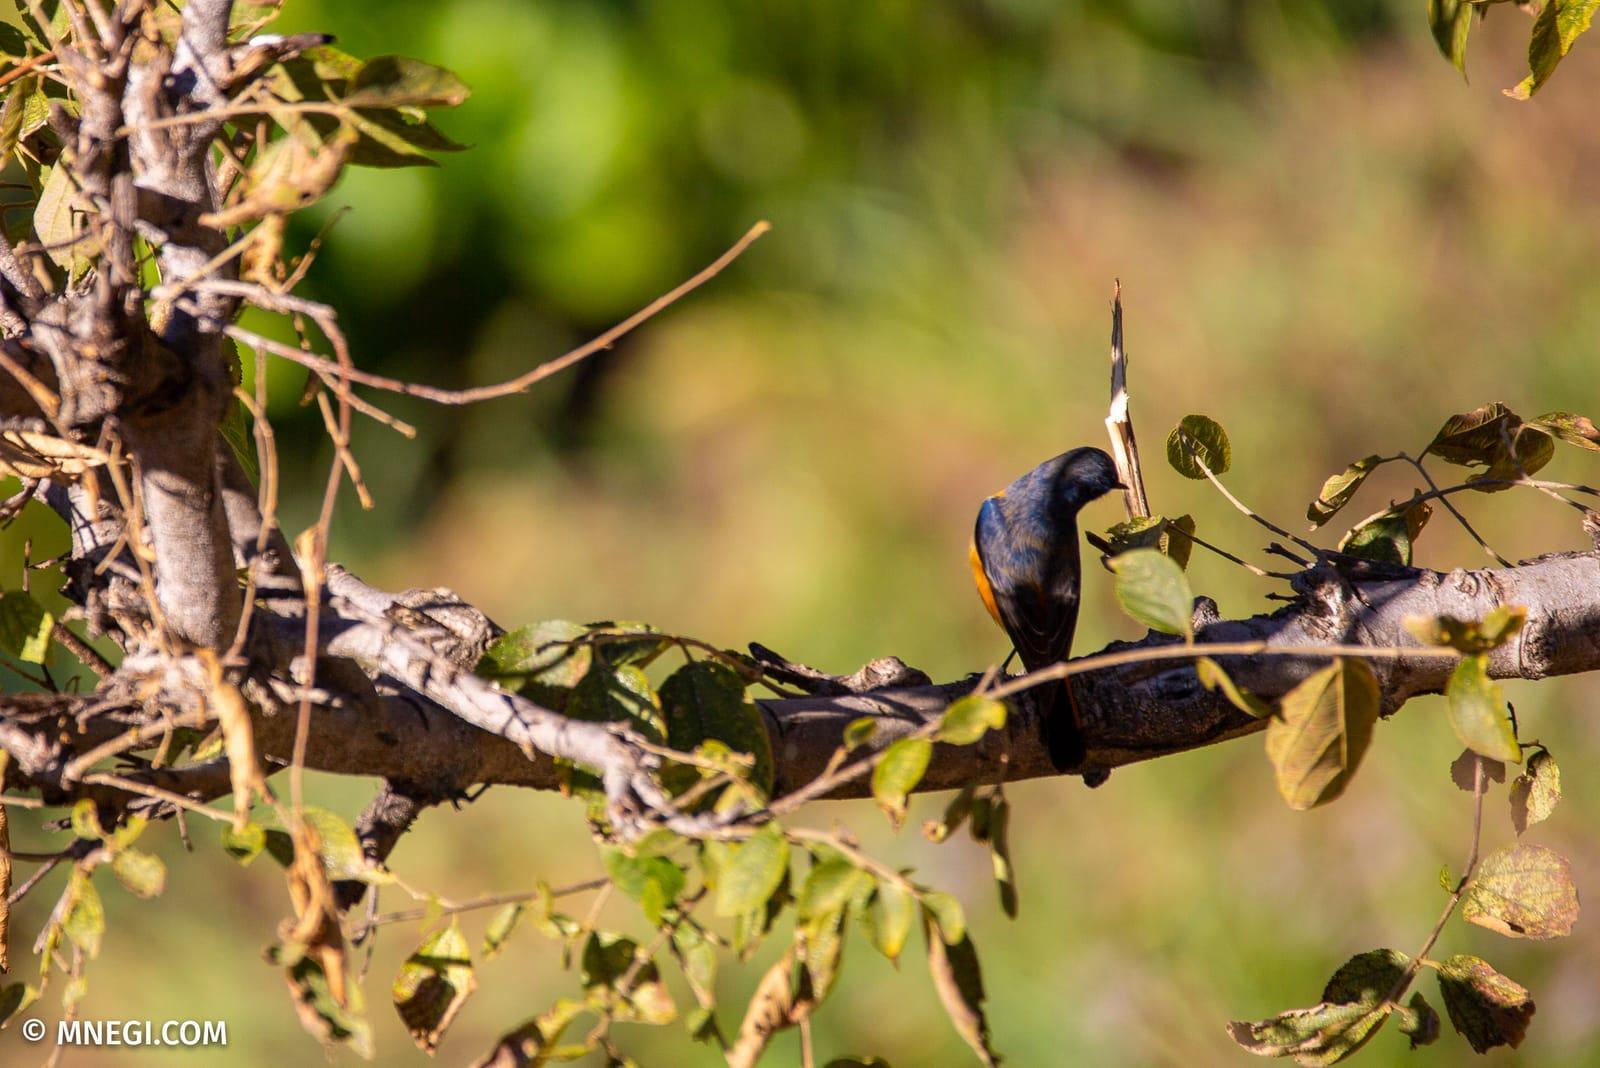
Wherever you can, get down to the bird's own eye level. A photograph taken looking down on a bird feels like a record — a specimen pinned to the ground. One taken at the bird's level feels like a portrait: suddenly you are in its world rather than above it, the background falls away into a soft wash, and the bird stands out clean and three-dimensional. Crouch, kneel, sit, or brace the camera on a wall or a railing. It is uncomfortable, and it is almost always worth it.
Keep the shutter fast
Birds are never quite still. A head turns, a wing flicks, a tail cocks — and at slow shutter speeds all of that turns to blur. For a perched bird, 1/1000th of a second is a safe floor; for anything in flight or mid-hop, push to 1/2000th or beyond. The way to get there in the low light of dawn is not to be timid with the ISO — modern cameras handle high ISO remarkably well, and a little grain in a sharp photograph is always, always better than a clean but blurred one. Set the camera to shutter priority, choose your speed, and let it work out the rest while you concentrate on the bird.
Make the eye sharp
If one technical rule separates a good bird photograph from a forgettable one, it is this: the eye must be sharp. A viewer will forgive a soft wingtip or a blurred tail, but let the eye go soft and the whole picture dies with it. Use a single, small focus point and place it deliberately on the bird's eye, rather than letting the camera guess. And watch for the catchlight — that tiny glint of the sky reflected in the eye. A bird with a catchlight looks alive; a bird without one looks stuffed.
Fieldcraft over gear
The same patience that helps you see birds helps you photograph them, and it will do more for your pictures than any upgrade ever could. Move slowly, let the bird settle and forget you, and wait for the moment rather than chasing it. Chasing almost never works — the bird simply leaves. The best frames come to the photographer with the discipline to sit still long enough for the bird to do something worth catching: to sing, to stretch a wing, to turn its head into the light, to carry a beakful of food to a perch.
Learn the perches
A great deal of bird photography is really anticipation. Birds are creatures of habit: a particular branch a flycatcher returns to between sallies, a favoured song-post, a stone by the stream a redstart bobs on every single morning. Spend a little while just watching, and you start to see these patterns. Then, instead of trailing the bird around, you can settle yourself on the bird's own routine — focused on the perch, exposure set, finger ready — and let it come back to you. Half the great perched portraits are made exactly this way: not by finding the bird, but by predicting it.
A word on composition
You don't need rules to make a pleasing photograph, but a few habits help. Give the bird room to look into — leave more space in front of its face than behind its tail, so the frame feels open rather than cramped. Watch your background as carefully as your subject: a clean, distant, uncluttered backdrop, thrown soft by a wide aperture, will make even a common bird sing, while a busy tangle of twigs behind the head will spoil the loveliest sighting. And mind the perch — a clean, natural branch flatters a bird; a plastic wire or an ugly stub only distracts from it.
Anticipate the action
Birds telegraph what they are about to do, if you know how to read them. A bird about to take off will often crouch, lean forward, lift its tail, or empty itself first — a half-second of warning that, with your finger already on the shutter, is the whole difference between catching the wing-spread and catching an empty branch. A singer fills its throat before it sings; a flycatcher tenses just before it sallies. Watch for these small tells, and you stop reacting to the action and start arriving a beat ahead of it.
Birds in flight
Flight shots are the hardest and, when they come off, the most thrilling. They ask for more speed and more practice: a shutter of 1/2000th or faster, continuous autofocus tracking the bird as it moves, and a burst of frames rather than a single hopeful press. Start with the big, slow, predictable fliers — a vulture riding a thermal, an egret flapping across a field — long before you attempt a darting warbler. And give yourself room: a bird flying out of frame needs space ahead of it, so aim a little loose and crop later. Most flight frames are misses; the few that land are worth all the rest.
Stay on the bird
One small discipline pays off again and again: resist the urge to stop and check the back of the camera after every frame — 'chimping', as photographers call it. The moment you look down is the moment the bird does the very thing you came for. Trust your settings, keep your eye to the viewfinder, and stay on the bird until it leaves. There is always time to review once it has gone.
Know your bird
The more you understand a bird's habits, the better your photographs of it become. A redstart that bobs on the same rock each dawn, a barbet that sings from the same bare crown, a sunbird that works the same flowering shrub — once you know a bird's daily round, you can be in the right place, at the right hour, in the right light, before it ever arrives. The best wildlife photographers are usually the best naturalists; the camera is only the last, easy step.
What to start with
You do not need the latest body or a five-figure lens. A great deal of fine bird photography is made on a mid-range camera and an affordable telephoto or superzoom. If you are buying for the first time, prioritise reach and autofocus over megapixels: a camera that focuses fast and a lens that reaches at least 300mm, ideally further, will serve you far better than a high-resolution sensor behind a short lens. Buy used if it stretches the budget further. The best camera for birds, as ever, is the one you have with you — set up and ready — when the bird appears.
The bird comes first
And now the rule that outranks all the others, the one we will not bend: never bait, crowd, trap, corner, or flush a bird for a photograph. Never play a recording of its call over and over to lure it in during the breeding season, when it has far better things to be doing. Never disturb a nest for a clearer view of the chicks. No image is worth distressing a wild creature — and, quite apart from the ethics of it, a calm and undisturbed bird makes a far better picture than a frightened one. If getting the shot would harm the bird, the answer is simple: you don't get the shot.
“No image is worth distressing a wild creature — and a calm, undisturbed bird makes a far better picture anyway.”
Start in the courtyard
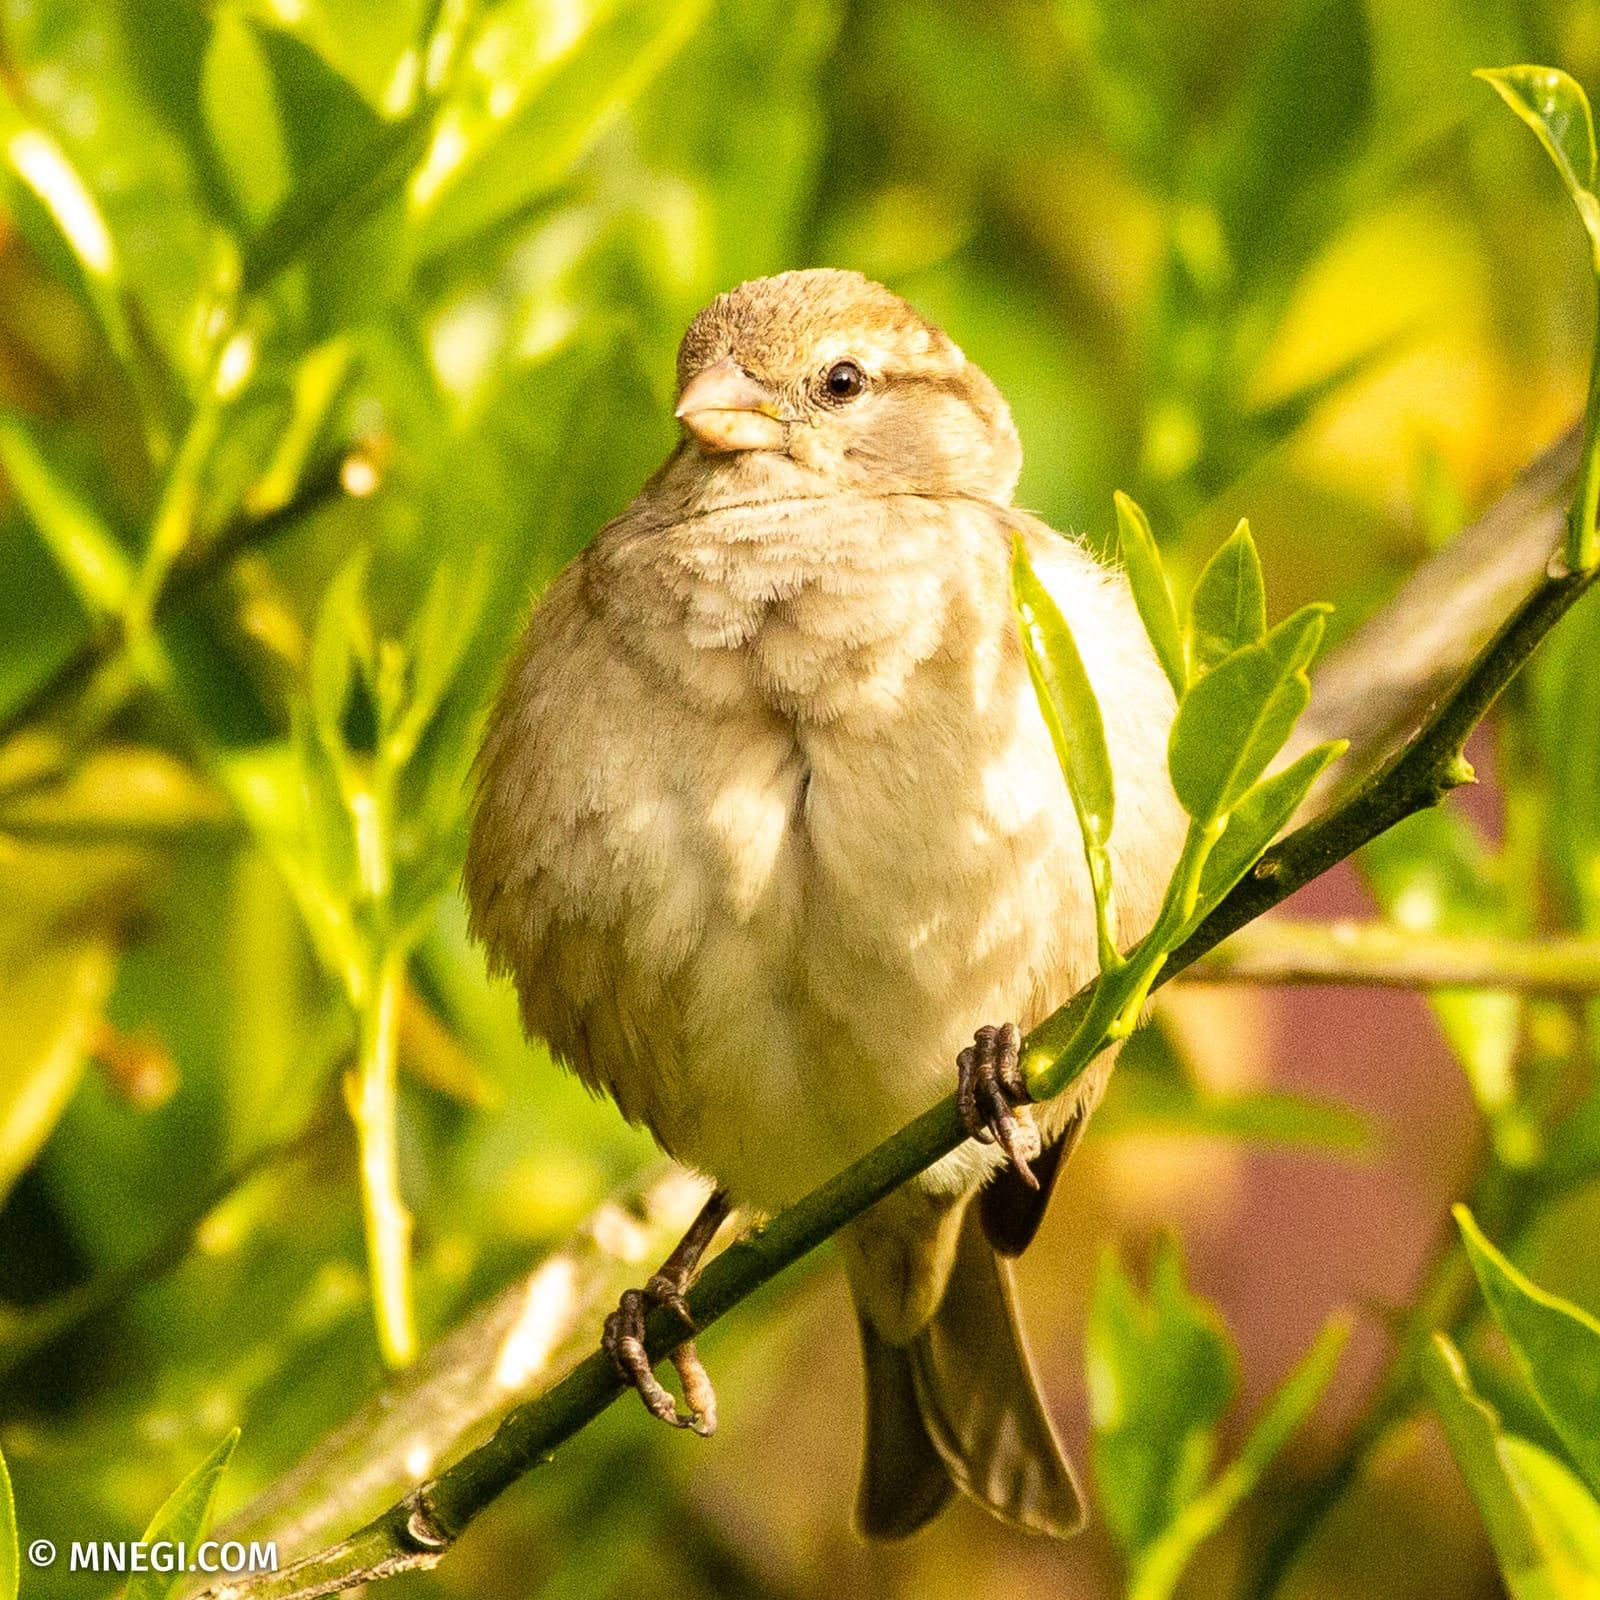
The best place to begin is also the easiest. You do not need to trek to a remote forest to learn bird photography; you need a forgiving subject that is close, common, and around all day. A house sparrow on a wire, a bulbul in the hedge, a myna on the lawn — these birds will let you practise everything: finding focus, holding the shutter steady, reading the light, waiting for a head-turn. Learn your camera on the common birds until the settings are second nature, and you'll be ready, calm, and quick when something rarer finally comes through.
Honest editing
A little processing is part of photography, not a betrayal of it — but keep it honest. Crop for composition, lift the shadows, balance the exposure, sharpen a touch: all fair. What we don't do is add a bird that wasn't there, paste in a dramatic sky, or clone out the world to fake a 'wild' shot that never happened. The same respect that governs the field governs the edit. A real bird, in real light, slightly imperfect, is worth more than a flawless invention.
On the empty mornings
Not every morning gives you a photograph, and the sooner you make peace with that, the happier you'll be. Some days the light is flat, the birds are high and restless, and you come home with nothing on the card. It doesn't matter. The morning was still spent outside, in good air, paying close attention to wild things — which is most of the reward anyway. The photographs, when they come, are a bonus on top of a morning already well spent. And there is no better place to wait out a slow morning than a hill terrace, where even the light doing nothing in particular is worth watching.
In the end, bird photography is less about cameras than about character — patience, quiet, respect, and the willingness to be out at dawn when everyone else is asleep. Get those right and the pictures follow. Get them wrong and no lens on earth will save you. Start with the sparrows, keep the bird's comfort ahead of your shot, and let the hills do the rest.
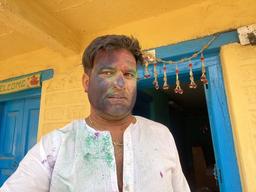
About the author
Manohar Negi
Owner & host
Manohar grew up in these hills and never really left. A photographer by craft and a host by heart, he turned the family home at Kunja into a place to share — and most of the frames you see across this site are his.
More about Manohar
Keep reading
Related pieces
BirdingThe gear we use for bird photography
Guests often ask what's in the bag. The honest answer: not much, and nothing new. Here's exactly what we carry up the hill, and what each piece is for.
Read it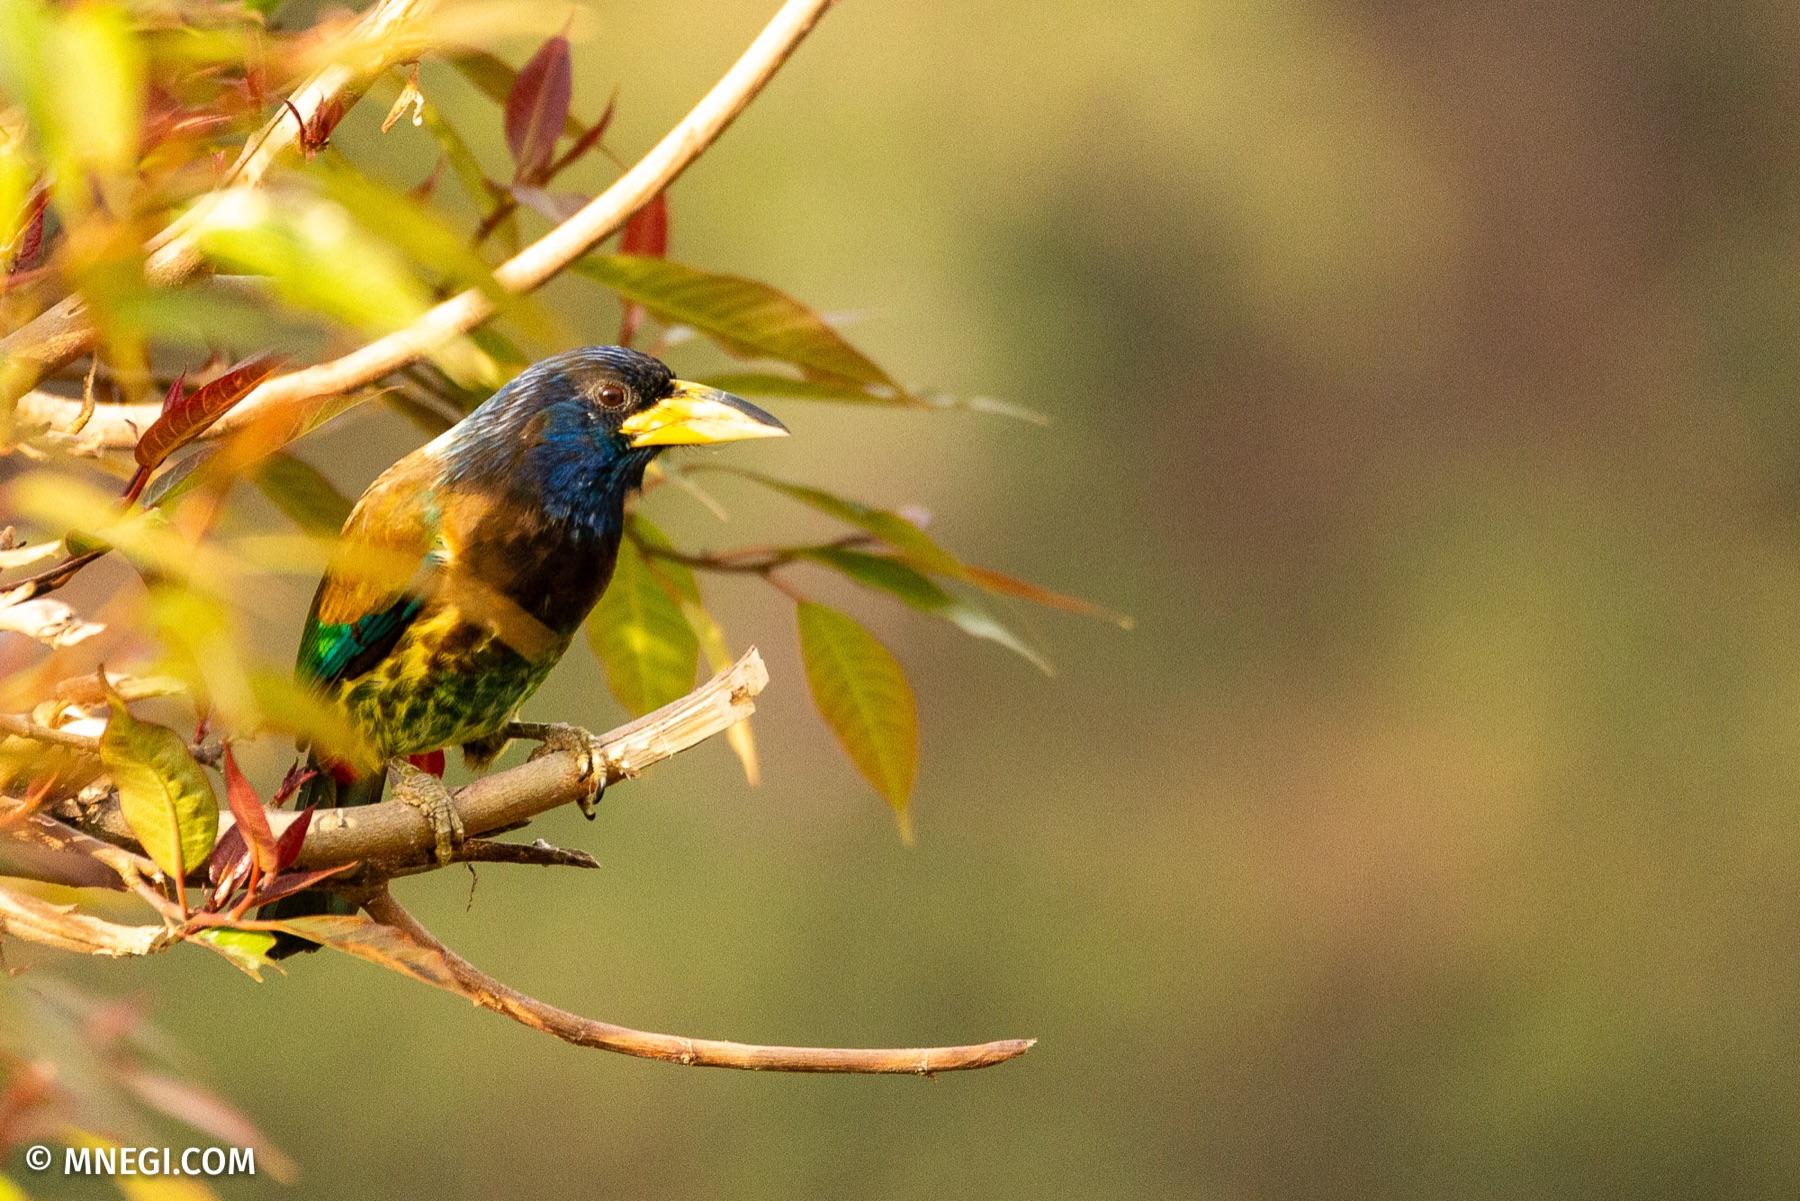 Birding
How to see more birds: a field guide for beginners
You don't need expensive gear or years of practice — just a few simple habits. Here's how to turn an ordinary morning walk into one full of birds.
Read it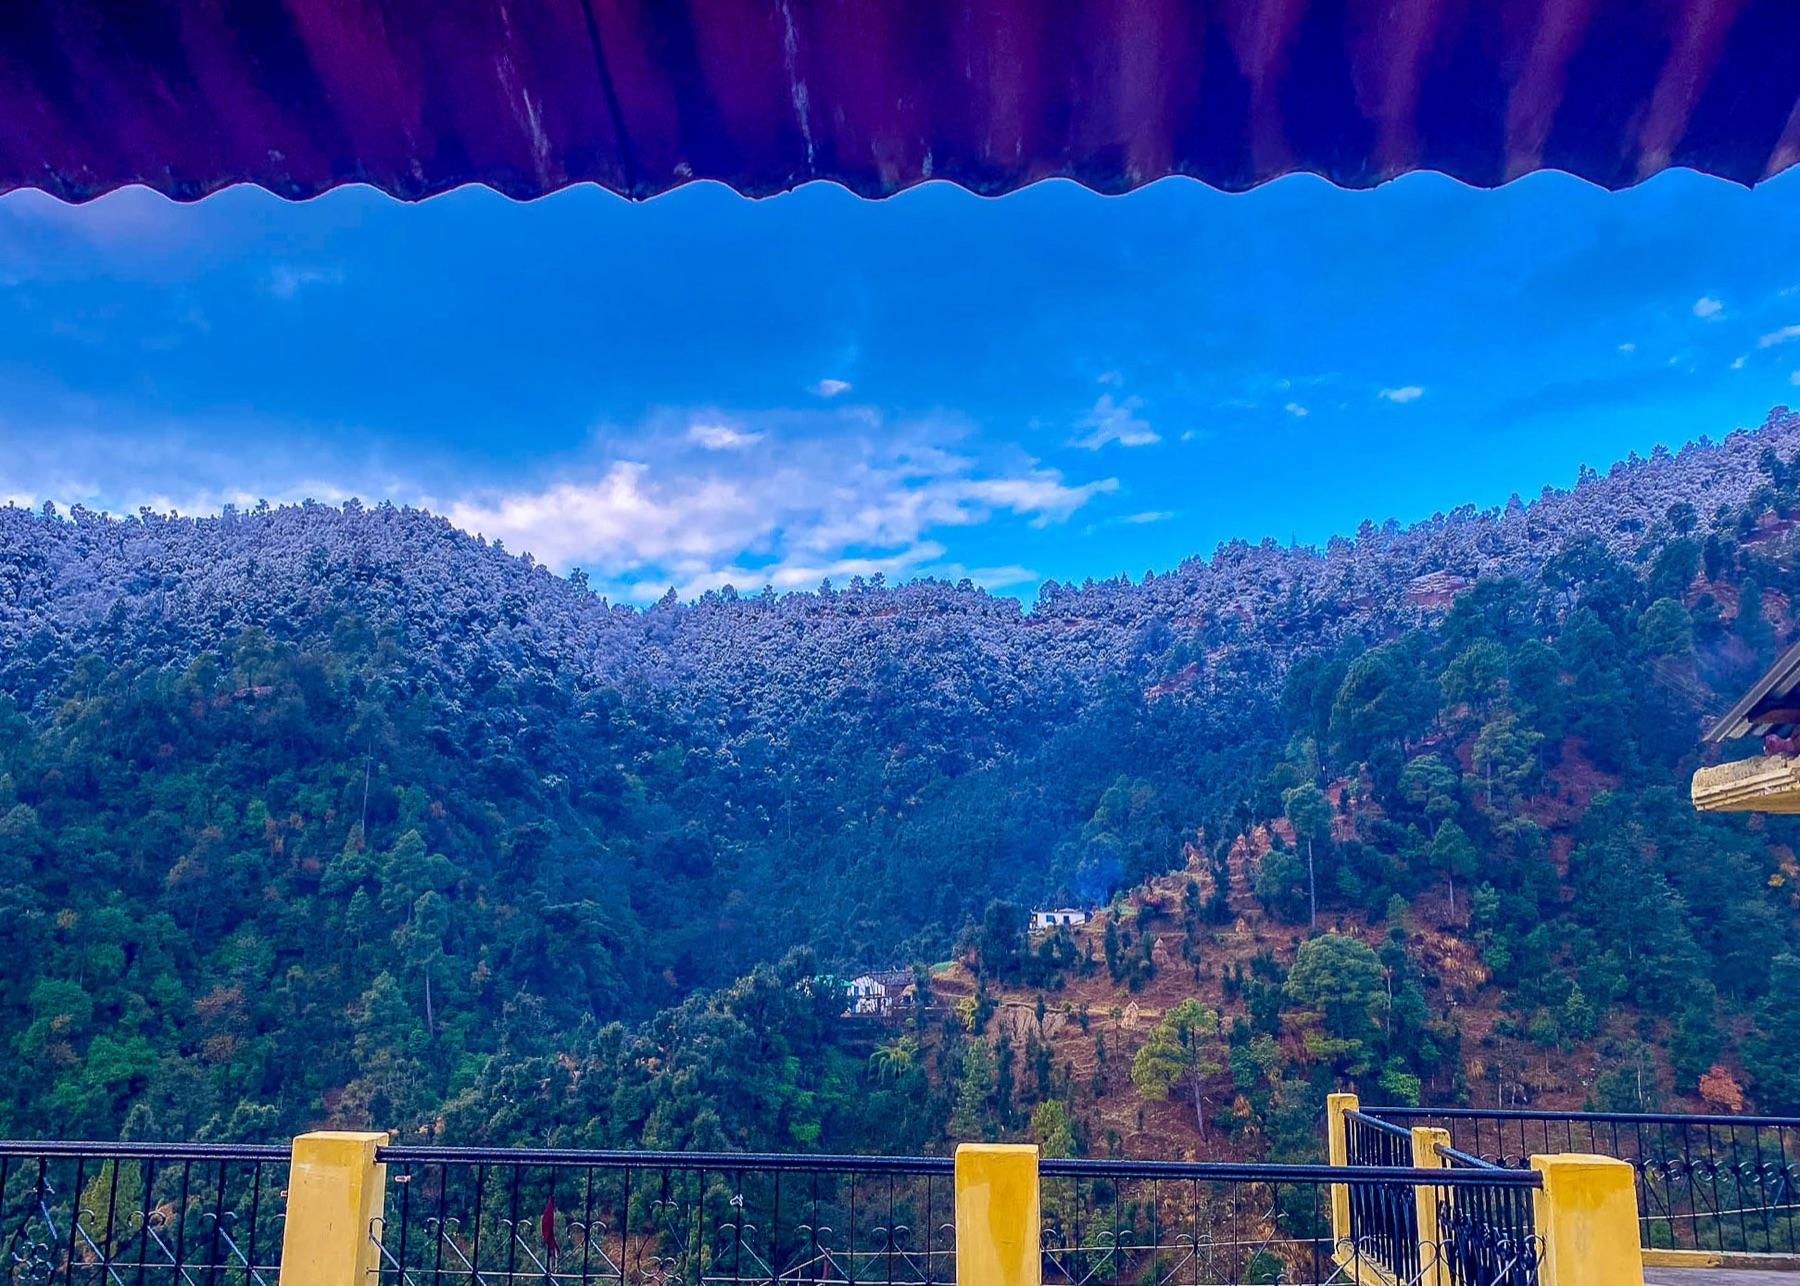 Birding
The birding year in Kumaon, month by month
Which birds are around when — from the spring nesting rush to the winter visitors down from the high Himalaya. A seasonal guide to birding around Kunja.
Read it
Comments
No comments yet — be the first to share a thought.